Gateway/NV54/innards/reassembly
< Gateway | NV54 | innards
Jump to navigation
Jump to search
Revision as of 01:31, 1 September 2010 by Woozle (talk | contribs) (Created page with '==About== These were the steps I finally used to reassemble a Gateway NV54 laptop. Reassembly began on 2010-08-27, was complete on 2010-08-31, and took about 5 hours due larg…')
About
These were the steps I finally used to reassemble a Gateway NV54 laptop. Reassembly began on 2010-08-27, was complete on 2010-08-31, and took about 5 hours due largely to uncertainty about the cable brackets.
Steps
- place system board in bottom part of case
- attach 1 back screw (top left -- seems slightly smaller than others)
- there were 2 "slightly smaller" screws left over at the end -- maybe these should have been used at this point
- re-attach small subboard at lower right (1 screw only : lower left)
- insert DVD drive (comes in from outside of case)
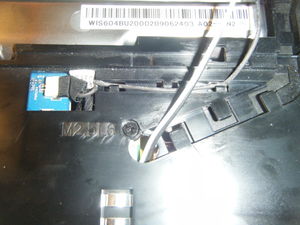
- re-attach USBCN1 connector (see photo)
- route black and white wire pair so ends poke out near where they will be plugged in (but don't bother plugging in yet)
- these attach to the wireless network card (look for "MAC ID")
- I suspect they are the antenna for the wireless
- reattach the wider of the two ribbon cables labeled "MB" to the socket labeled "MMB1" on the system board
- lower the keyboard tray and snap it into place
- plug the black wire into PWRCN1 (see photo)
- socket is keyed, can't be plugged in the wrong way
NOT DONE -- still transcribing notes

